
Rob asked for the 2nd of 3 payments before going home on Monday. Quite a bit of progress had been made since Wednesday, with work being done by Rob and an associate (apparently a good friend who is also a builder) on Thursday and Monday.


Thursday saw the construction of the new soundproof wall next to the door. First, the sealing work Rob had started on Wednesday using regular caulk was resumed, but this time using Green Glue Sealant around places where the framing contacted the old sheetrock on the hallway side of the wall, notably all around the perimeter. I didn't think this would be very useful (but afterwards, the old sheetrock is now much quieter compared to other sheetrock in the hallway...it has a very dull thump when you hit it now). It would be better, of course, to also rework the wall on the hallway side as we are doing on the other side...but who knows when if ever that will be done, and in the meantime this sealing is far better than nothing.
On the inside of the room, the entire wall (including the little space above the door) which had been open since Tuesday was covered with one layer of 5/8 sheetrock. Then, Green Glue was applied to the already-attached sheetrock (the instructions say to apply it to the loose piece, but I decided to let Rob do it his way) then the new sheetrock was added on top of it and screwed in. I watched the first application. Rob had started doing a fairly gridlike pattern. I said it should be more random (following the instructions) which Rob seemed to be reluctant to do, describing himself as straight-lines kind of guy. His buddy and I laughed and gently cajoled Rob to do it more random, finally he did a very artsy job filling all the space with the required 2 tubes per 32 sqft.
On the inside of the room, the entire wall (including the little space above the door) which had been open since Tuesday was covered with one layer of 5/8 sheetrock. Then, Green Glue was applied to the already-attached sheetrock (the instructions say to apply it to the loose piece, but I decided to let Rob do it his way) then the new sheetrock was added on top of it and screwed in. I watched the first application. Rob had started doing a fairly gridlike pattern. I said it should be more random (following the instructions) which Rob seemed to be reluctant to do, describing himself as straight-lines kind of guy. His buddy and I laughed and gently cajoled Rob to do it more random, finally he did a very artsy job filling all the space with the required 2 tubes per 32 sqft.
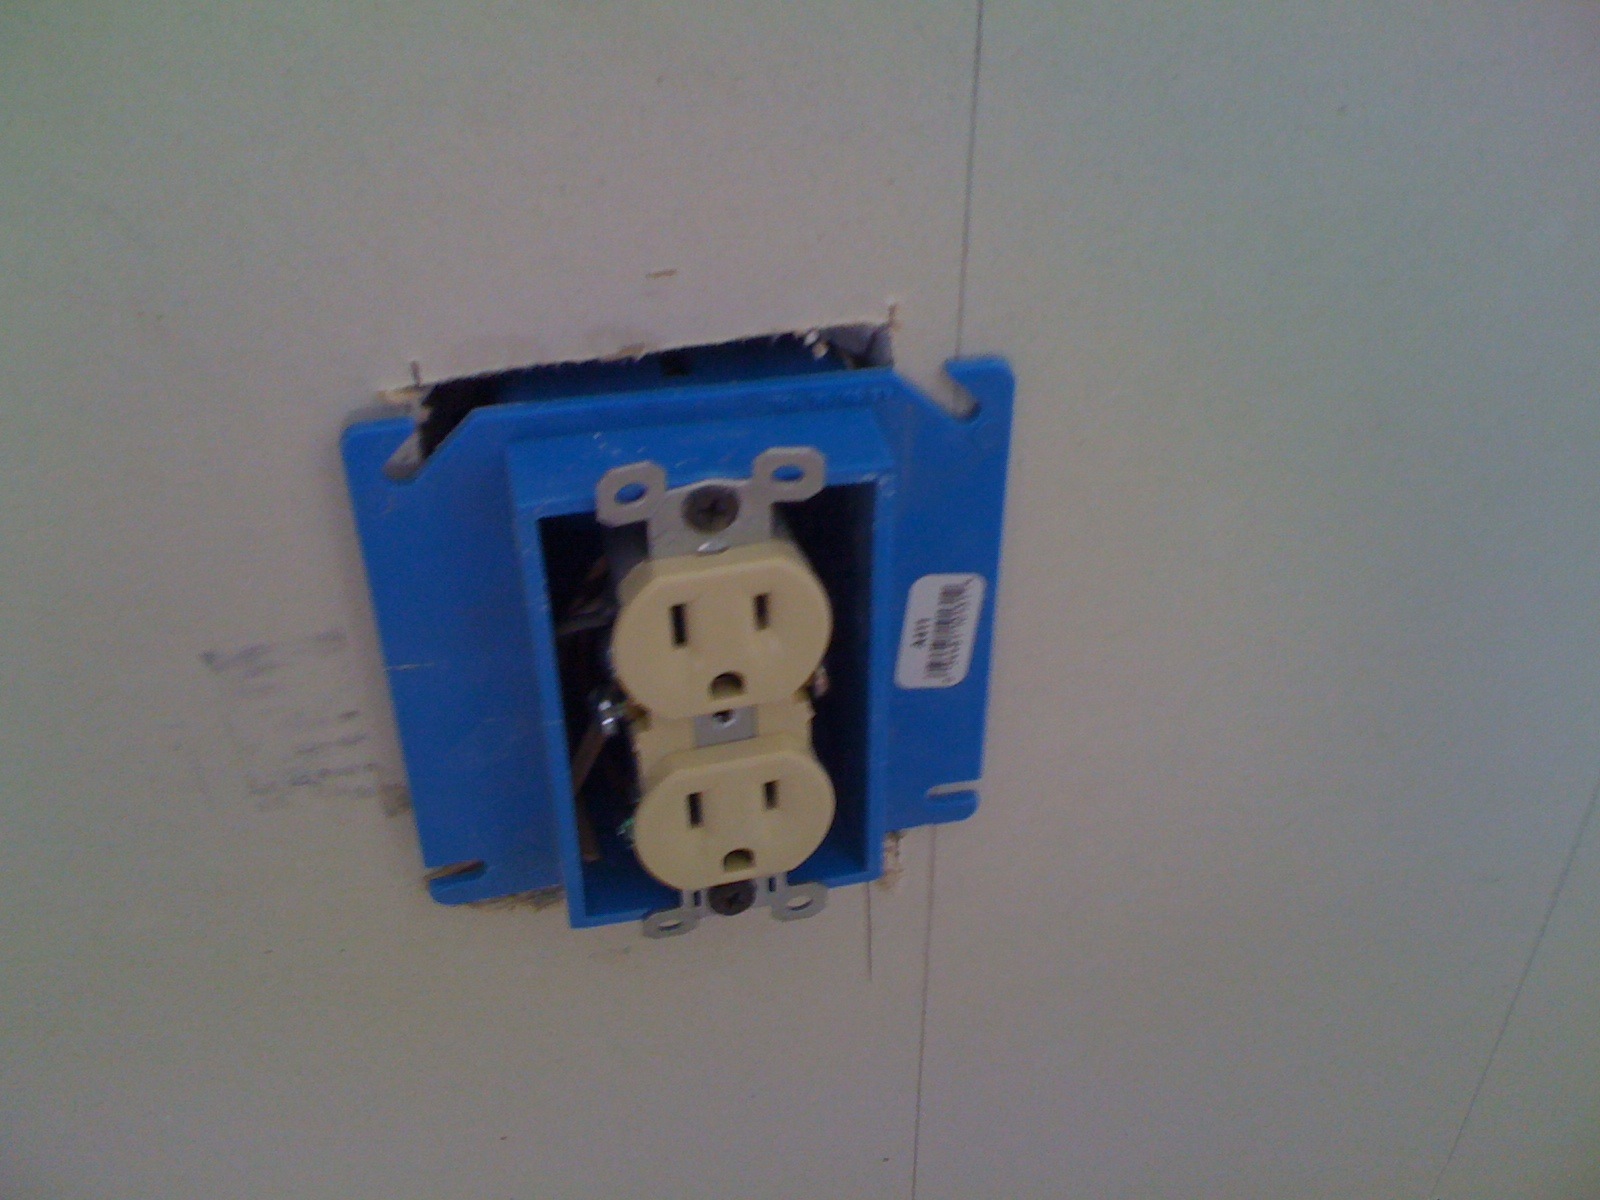

Before that performance we had gotten into an argument over the switch and outlet, which project through the wall. He was using large boxes that had big plastic flanges fixed on top of the first layer of sheetrock. When the second layer of sheetrock was to be applied, I believed the flanges would transmit vibration through the entire assembly. I didn't think that was right (and I was sure my electrician would have known another way). A few minutes later, I popped in to take pictures of how Rob was doing it. He changed his mind after that, got a cutter tool, and cut the flanges off. Finally, when the wall was assembled, each box projected through a small gap entirely filled with Green Glue Sealant. I complimented him on that, it was perfectly done and couldn't be any better.


Also on Thursday the hole for the new closet was cleaned out, the framing for the closet was put in, and a board attached to the ceiling where the old closet wall had been. Two big piles of construction debris were left in the side yard and my trash can was filled. Rob informed me he could not be back until Monday. Sometime on Sunday I took a picture of the closet framing, which includes a lentil for supporting the load bearing wall (it supports a roof truss):


On Monday, Rob and his associate returned and they sheetrocked and insulated the closet, and started with the mud to fill cracks. I asked how much paint and primer would be needed, asked Rob to do the priming as he had originally estimated, and asked for a new estimate on doing the painting. Rob promised to haul away the rest of the debris on Tuesday.


On Monday night I got 2 cans of primer, 2 cans of satin paint, and 1 can of flat ceiling paint.
No comments:
Post a Comment